

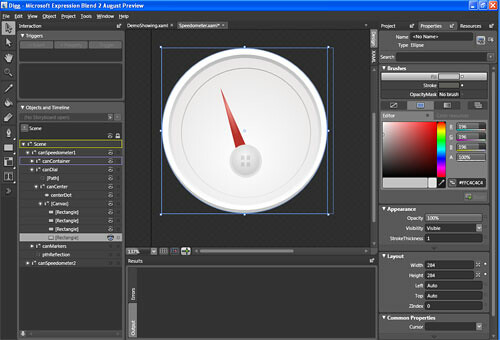
I’m currently working a super secret project that I’ll be launching soon. This new project of mine required me to create a whole swag of new Blend assets one of which is the speedometer.
Here it is:

It was really simple to make, the below tutorial walks through the layers in the order I made them in. Basically they are a just a whole lot of ellipses with one rectangle with a removed vertex.

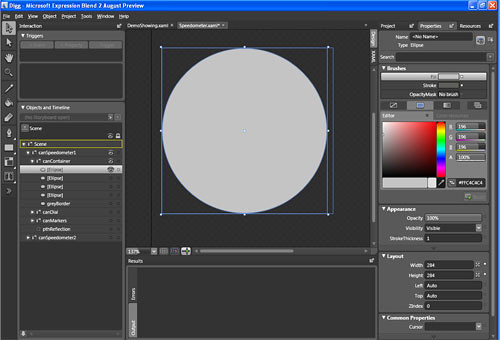
A. Bottom shadow of the speedometer – Create a perfect circle using the ellipse tool. To do this you need to hold the Shift key whilst dragging the ellipse size. Choose a color that you feel would best represent the bottom shadow of the
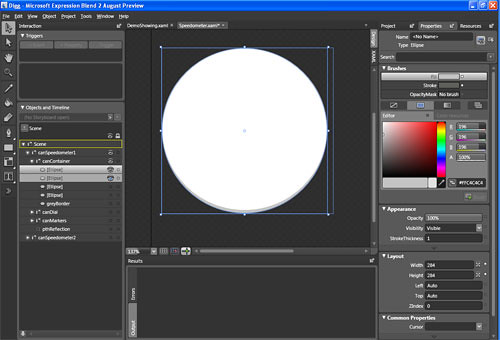
B. Duplicate the circle from A. Change the solid color to a white (or whatever color you want the top face of the speedometer to be). Minimize the height a tiny fraction making sure that the height you remove comes off from the bottom (so that the shadow from step A comes through)
C. Create the top shadow by creating another circle with a gradient brush of type “linear gradient”. Make the gradient start a light shade of gray and the end gradient the color used in step B. Make sure that the circle is positioned so that the top is about 5 mm below the top from the circle from step B.
The bottom of this circle should appear to merge with the bottom of the speedometer due to the color you choose as the end point of the gradient from step B.
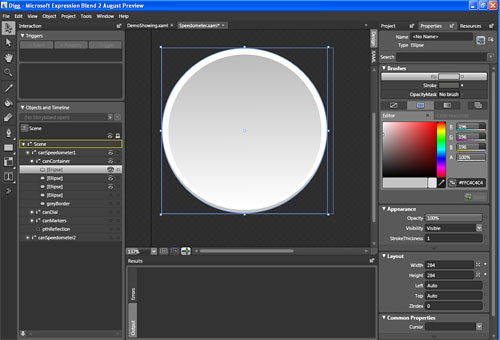
D. Create the face of the speedometer. Again this is just a circle that positioned a tiny fraction from the top of the previous circle from step C. Choose a gradient brush of type “radial gradient”. Feel free to use any color here but it’s best to use a color similar to the one chosen in step B.

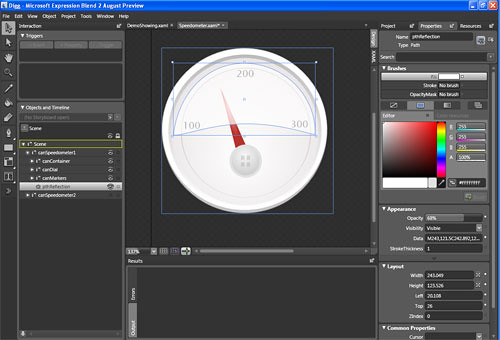
E. Track for the numbers. This is another circle with no fill, just a stroke of fill “gradient brush” of type linear gradient. Be creative when choosing the start/stop colors.

F. Create the markers. Use whatever you want here, I used textblocks of numbers. (please ignore the dial as I took the wrong image and couldn’t be bothered retaking the image again without the dial … sorry)

G. Create the dial. This was created using a simple rectangle with a “gradient brush > radial gradient”. Then converting the rectangle to a path. Then using the pen tool to remove one of the four vertex’s, this will form a triangle. Using the “direct selection” tool reposition the vertex to get the dial shape you want.
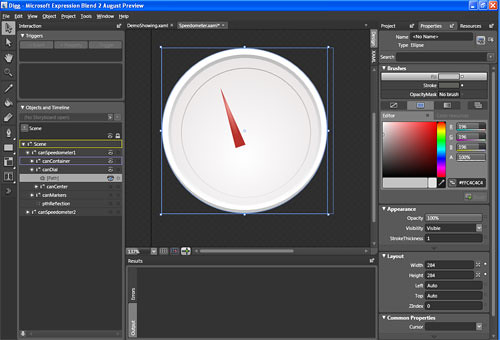
H. Create the knob of the dial. This is simple just create another circle. Give it a “gradient brush” of type “radial gradient”. Also give it a stroke just to accentuate the dial.

I. Create indents on the knob. These were just 4 simple rectangles. This is purely cosmetic, just to give the picture a bit more flare!
J. Glass effect. This is just a circle that was converted to a path and using the pen tool removing the bottom vertex. I then played with the left and right vertex to get the shape that I wanted.
So that’s it. Very simple and took me around 5 minutes to make. The source code can be found in the “Blend Candy” area. Enjoy and if you animate it send me a comment and I’ll link to it!

Hi,
I liked this article very much.
I was looking for such example .
The way you have shown stepwise is simple great.
Thanks
Ajit Kumar
hey thanks for the idea of making the guage ,, one question can i make the needle dance ,,lets say i have different ranges and the needle can move by increasing or dereasing a scrol bar ,,any possibility of doing it in c# ????
yep you can use c# in silverlight to achieve that..
Just use the rotation of it around a center point (so over time change the rotation , that is between 0 to 360 degrees)…
I believe wilcoB did something similar on his file uploader (can’t get to his website at the moment but keep trying it, search for wilcob silverlight)
Wahai Yang Maha Cinta sandingkanlah aku dengan jiwa pilihan-Mu yang karena kebaikanku – baikkanlah ia tapi jika ia lebih baik – baikkanlah aku.
Life would not be better because a chance life will always be better because of the courage to take action at every chance
Bahagia bukan berarti segalanya sempurna Bahagia adalah ketika kamu memutuskan tuk melihat segala sesuatu secara sempurna